在Azure Bot中使用User-assigned managed identity完成认证
分类: Teams应用开发 ◆ 标签: #Azure Bot Framework SDK #Azure Bot Service #Teams App ◆ 发布于: 2025-03-06 16:35:28

在使用Bot Framework开发定制的Bot时,如果使用Azure Bot连接其他的Channel, 例如Teams, 那么需要将Bot的代码部署到相应的Web服务中,并在Azure Bot中配置API的endpoint指向该Web服务,这需要在Web服务中配置认证来访问该Azure Bot的资源, 一般情况下我们可以使用Serivce Principal来访问,但是为了安全,我们可以使用User-assigned managed Identity来完成认证。
我们下面来描述如何配置通过User-assigned Managed Identity实现认证。
创建资源
我们所需要创建的资源包括:
User Assigned Managed IdentityAzure BotAzure Web App
创建顺序是先创建User Assigned Managed Identity, 再创建Azure Bot, 最后创建Azure Web app。
创建
User Assigned Managed Identity在
Azure Portal的菜单里点击创建, 然后搜索User Assigned Managed Identity, 按照步骤选择区域,创建资源组,起名字创建就好了,如下图:
创建完成之后,找到该
User Assigned Managed Identity的资源,选择左侧菜单Properties, 然后记录一下如下的基本信息:IdTenant IdClient Id
在创建
Azure Bot的时候需要使用到上述三个值。创建
Azure Bot在
Azure Portal的菜单里点击创建, 然后搜索Azure Bot, 如下图: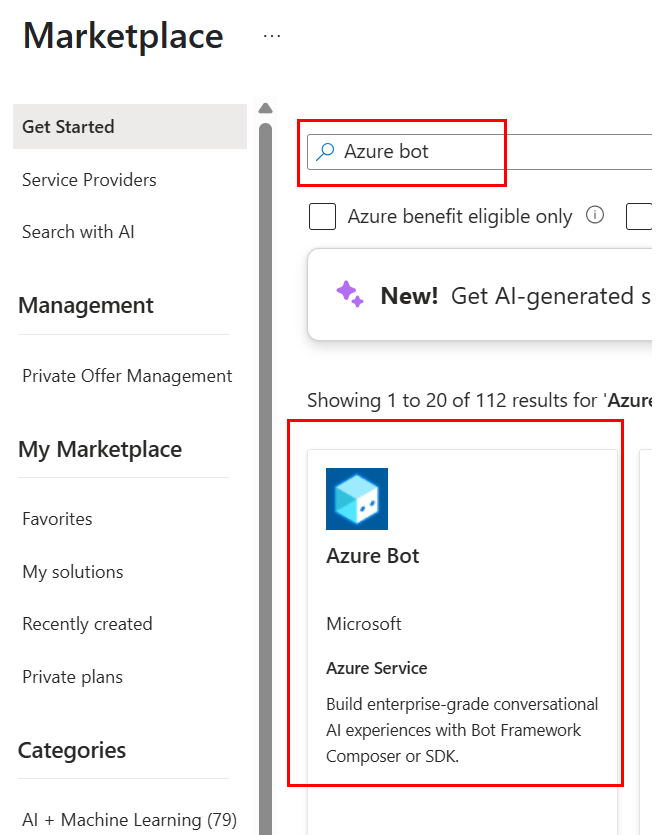
在创建的过程中,要如下图选择:
Microsoft App ID的Type of App的值为User-Assigned Managed Id,然后将前一个步骤的值填到如下的图中: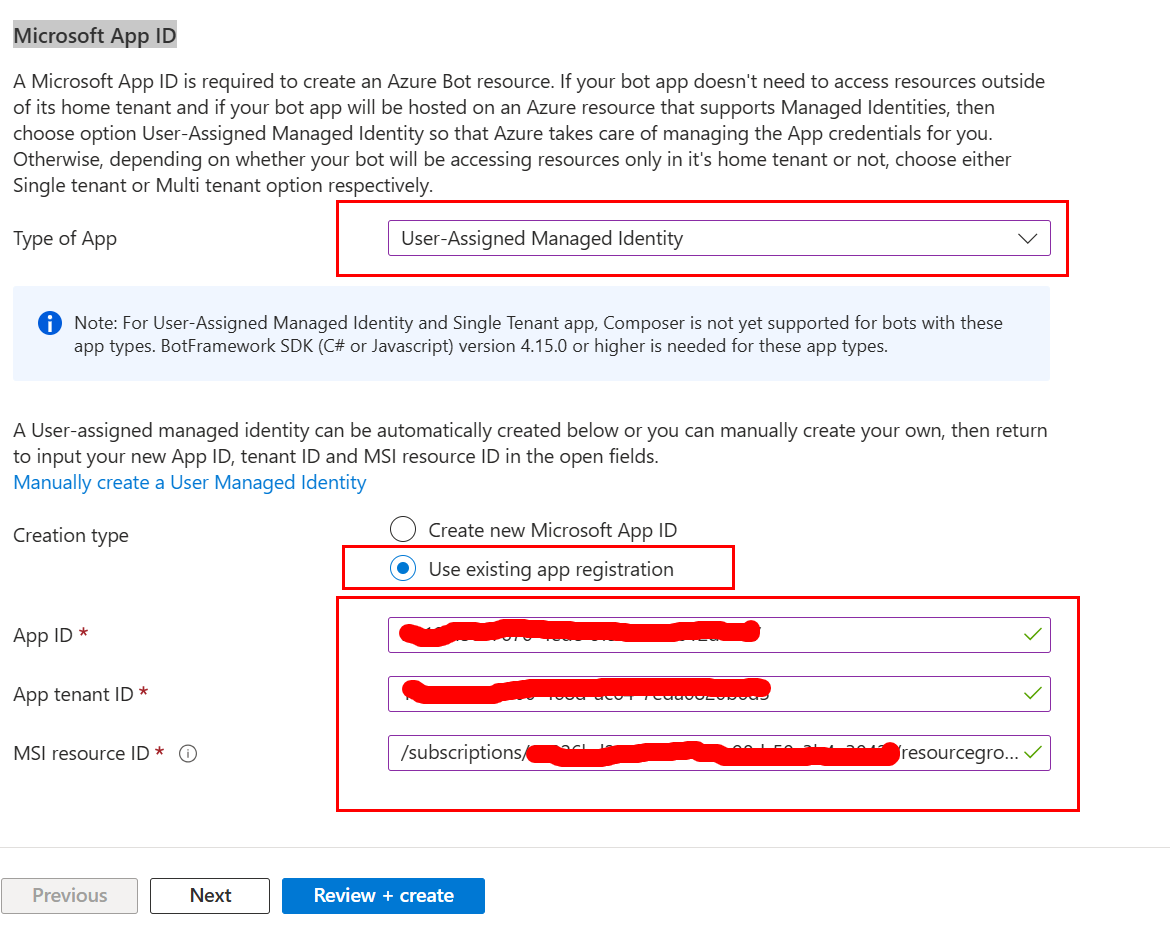
然后按照顺序创建就可以了。
创建`Azure Web App
Azure Web App主要是用于部署Bot的代码的,我们先创建一个Azure Web app, 如下图搜索出服务,并创建: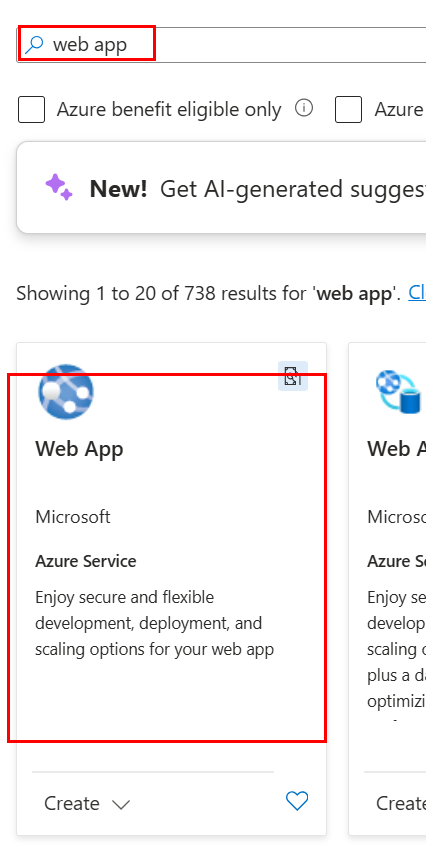
需要注意的是创建
Web App的时候,根据需要选择需要的发布方式: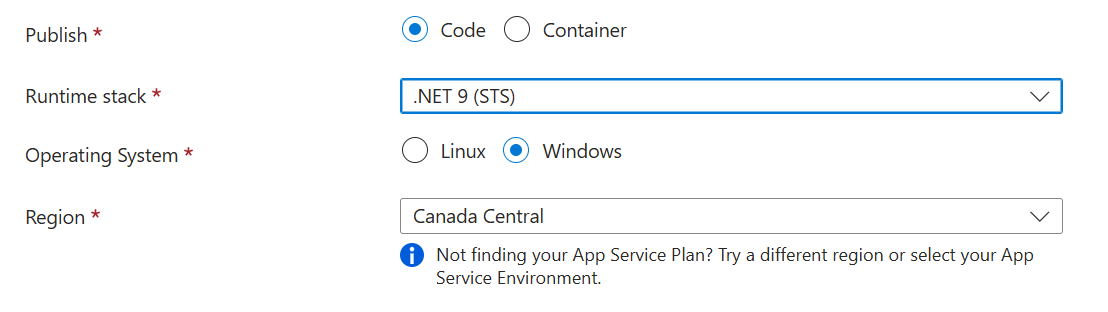
配置通过User Assigned Managed Identity认证
创建Azure Web App之后,找到该资源,然后选择左侧菜单Identity, 然后选择User Assign, 然后选择Add, 将之前创建的User Assigned Managed Identity添加进去就可以了。
同时在Web App的左侧菜单Environment Variable添加应用需要的几个变量:
MicrosoftAppId: 这里填User Assigned Managed Identity的client idMicrosoftAppPassword: 因为我们用了UMI,这里的值是空。MicrosoftAppTenantId: 填您的Tenant IdMicrosoftAppType: 这里的值是固定的:UserAssignedMSI