在jupyter notebook里配置交互式的.Net
分类: .Net技术 ◆ 标签: #基础 #.Net ◆ 发布于: 2023-08-07 22:28:33

为了快速的通过代码学习Azure的.Net SDK或者API, 我们可以配置Jupyter notebook、Jupyter lab或者VS Code交互式的使用.Net, 这样不用写很多代码,而且可以快速的演示和学习功能,我们下面来介绍如何安装和配置这个工具。
安装jupyter
首先我们需要安装一个Python, 这个很好理解,因为jupyter是基于python的。
您可以从https://www.python.org下载适合您平台的python版本并安装,安装好了之后,打开管理员终端(在Windows下), 如果是Linux,则使用sudo。
使用如下的命令来安装Jupyter notebook和jupyter lab:
# 安装jupyter lab
pip install jupyterlab

# 安装jupyter notebook
pip install notebook
如果要在某个项目目录下启动jupyter lab或者jupyter notebook,可以使用如下的命令:
# 启动jupyter lab
jupyter-lab

# 启动jupyter notebook
jupyter notebook
到这里我们就已经安装好了jupyter notebook, 我们接下来安装.Net
安装交互式.Net
我们先要安装.Net的SDK, 您可以从如下的网站下载最新的版本,需要6以上:https://dotnet.microsoft.com/zh-cn/
安装好.Net之后,启动终端,安装.Net全局工具:
dotnet tool install --global Microsoft.dotnet-interactive

# 安装jupyter的kernel
dotnet interactive jupyter install
安装完成之后,使用jupyter命令显示已经安装好的kernel:
jupyter kernelspec list
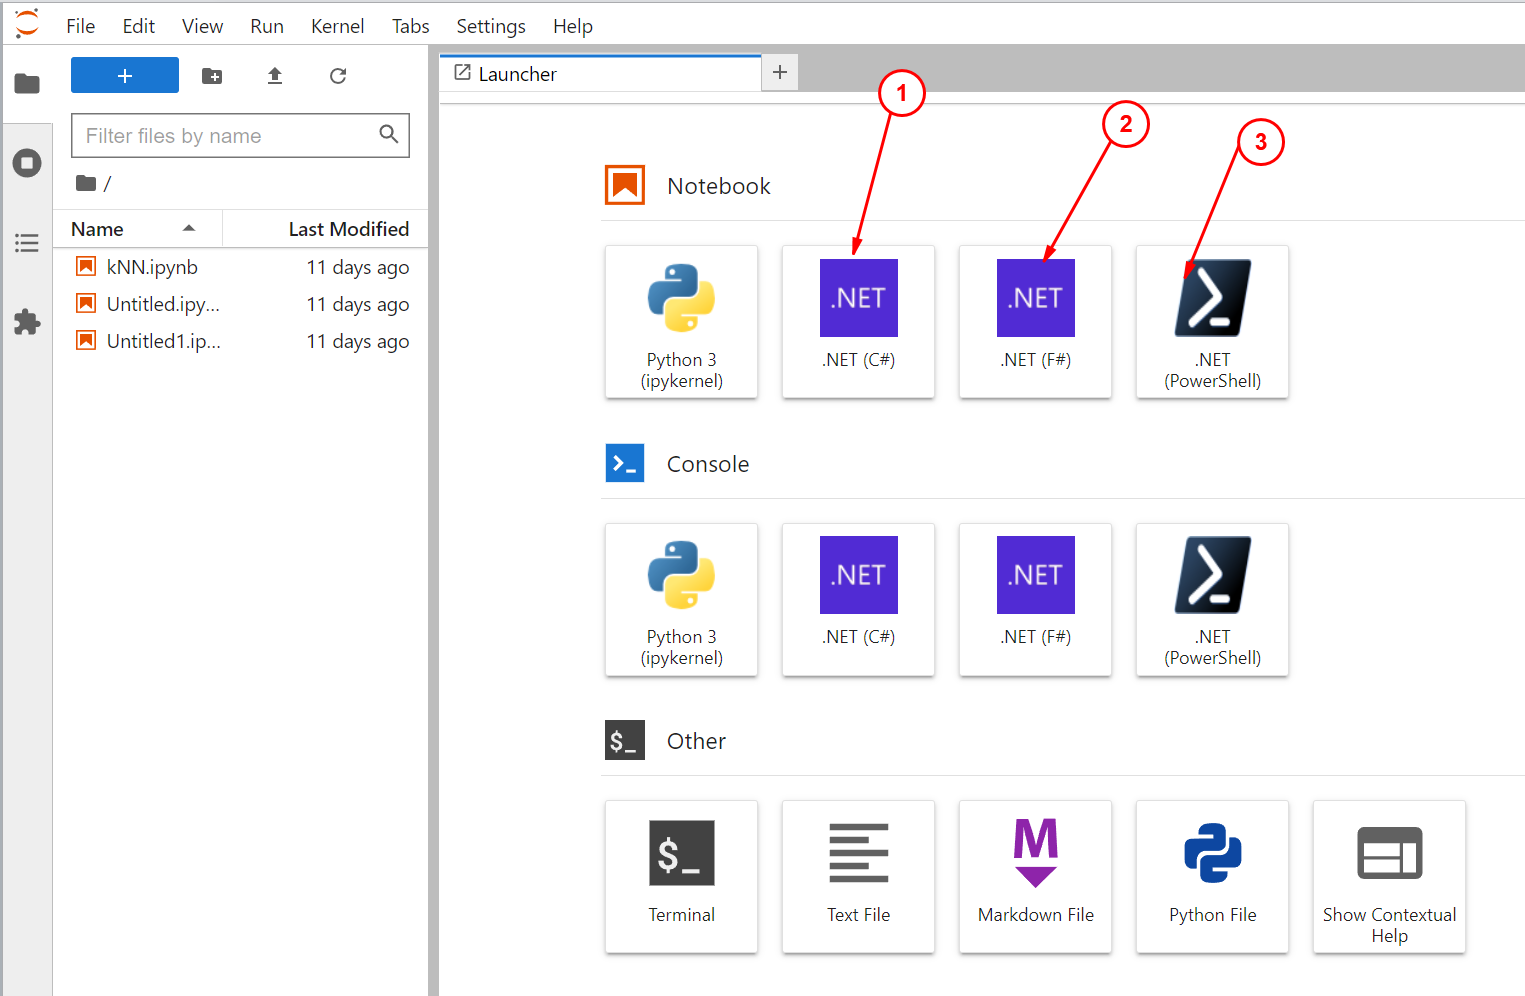
验证安装结果
在终端的项目目录下启动jupyter或者jupyter notebook:
jupyter-lab

或者

jupyter notebook
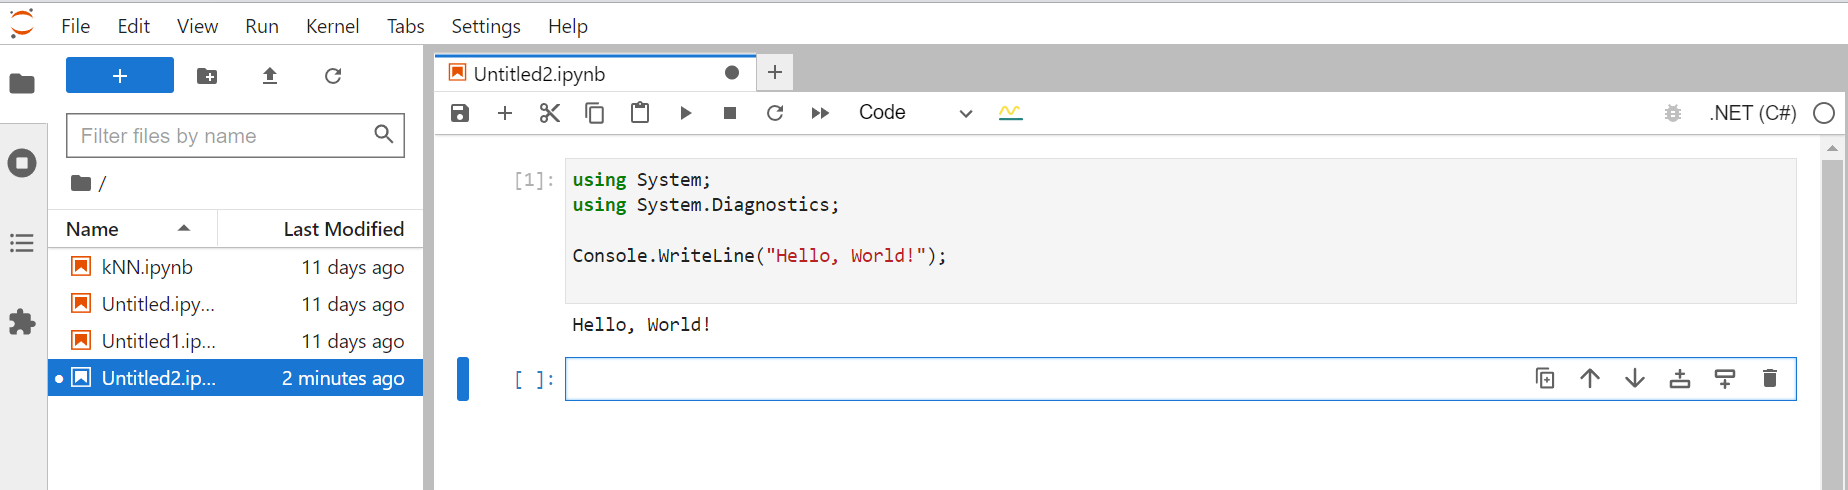
结果如下图:
可以写一个Hello World
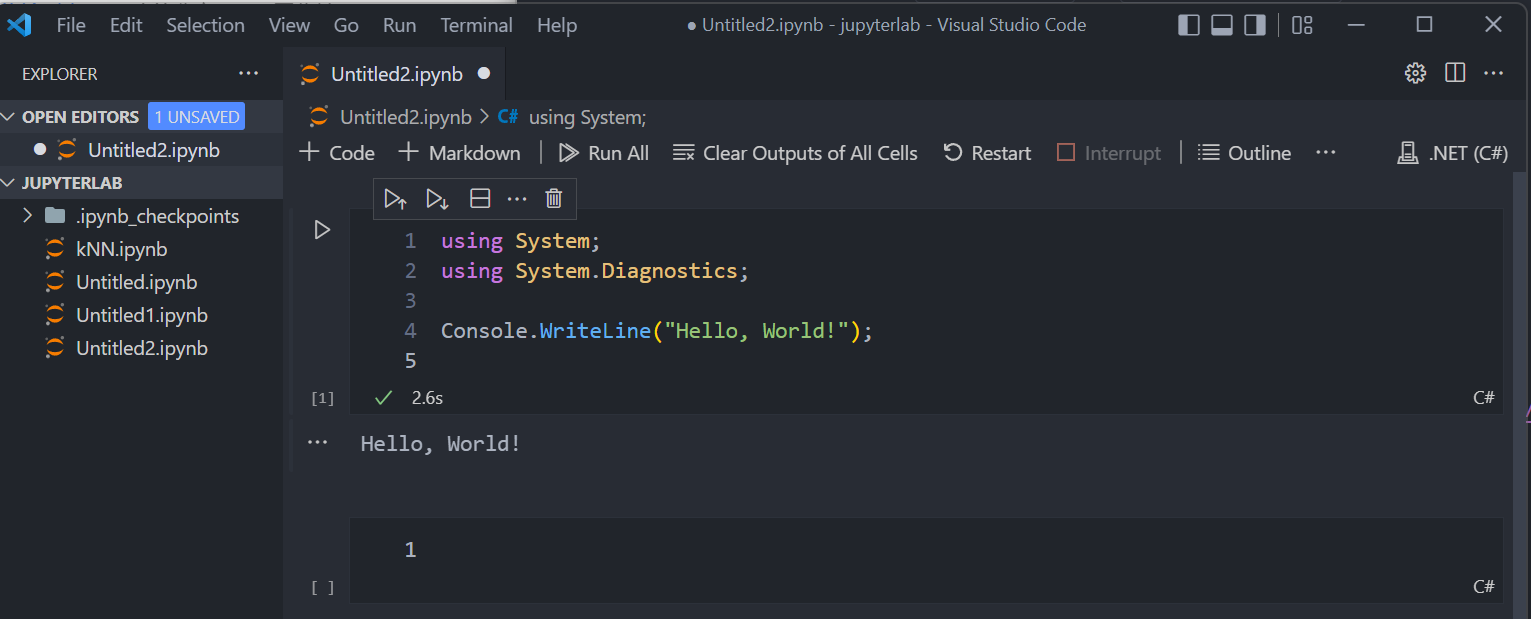
安装Visual Studio Code的jupyter扩展
安装好VS Code的jupyter扩展之后,可以直接跑交互式的.Net:
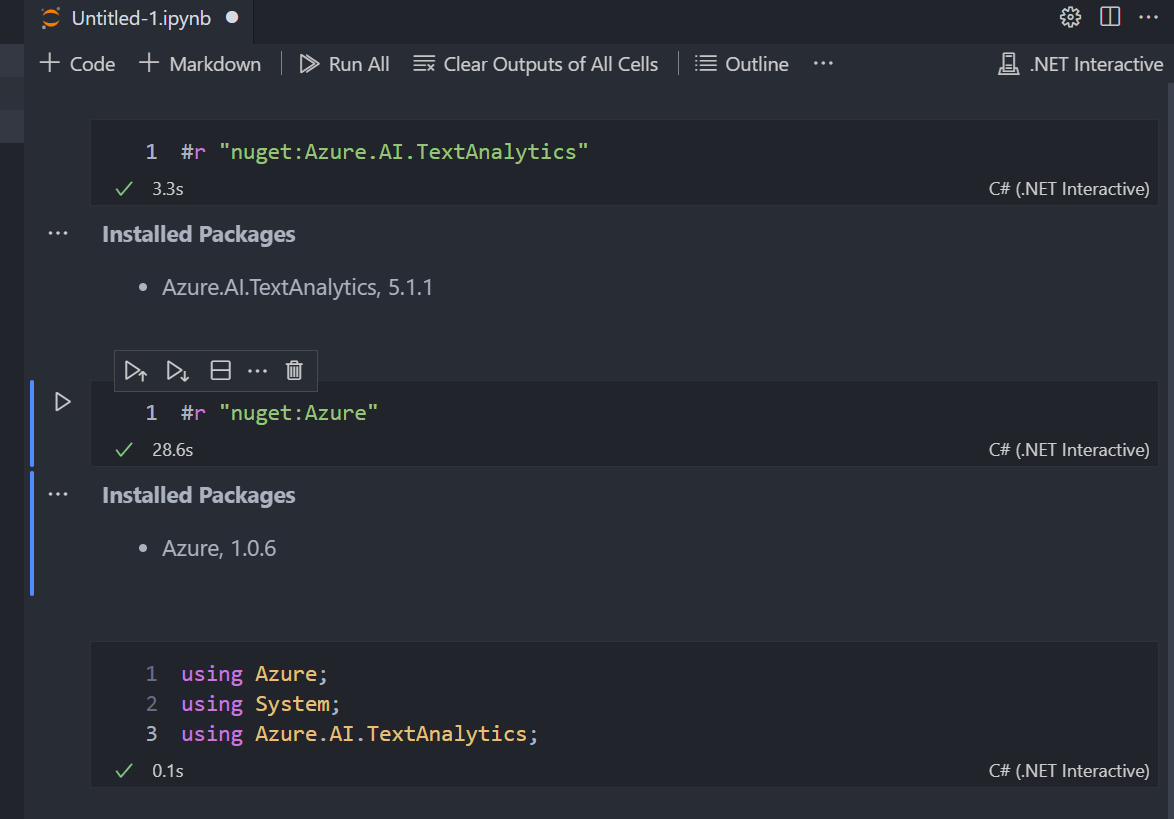
在Notebook里额外安装nuget包
有时候我们需要在notebook里使用其他的包,那么可以使用如下的方式先在notebook的上下文环境里安装:
#r "nuget:{Pacakge Name}, {Version}"
如下图所示: