使用Azure虚拟机创建一个功能完备的网站 - 创建Azure资源
分类: .Net技术 ◆ 标签: #Azure #.Net #Virtual Host #Web ◆ 发布于: 2023-06-15 16:00:44

我们前一篇讨论我们的工具的选择,这篇开始我们就开始开工了,我们先来创建Azure的资源,为了契合我们使用Azure的理念,使云管理人员也参与到整个系统的架构中来, 我们使用脚本工具来帮助管理员创建基于Azure的资源,这样可以将创建和管理资源的脚本使用github管理起来,方便未来可以快速部署和快速扩充的需要。
先来看一下我们目标:
- 在本地创建脚本运行环境,并记录成文档。
- 使用脚本创建虚拟机,并设定虚拟机的公网地址为静态地址,方便网站域名的绑定。
- 使用脚本配置
Network Security Group用来放行我们需要的端口。 - 使用脚本创建
Azure Stoarge账户和一个用于备份的blob。 - 使用脚本创建
Azure Cognitive Service资源,并保留创建的凭据。 - 使用脚本创建
Azure沉浸式阅读服务。 - 讨论将来的扩展性,如何满足扩展性。
创建脚本环境
需要注意的是我们这里使用的系统是Windows, 如果您是在使用Mac或者Linux的发行版,请参考相关的文档。
- 从这里下载Powershell的
MSI版本:<> - 从这里下载Azure PowerShell的
MSI版本:<> - 依次安装就好了。
安装好了之后,如果是Windows 10或者是Windows 11默认是会集成到Windows Terminal里的,如果您比较喜欢酷酷的控制台,你可以考虑安装一个oh-my-posh和posh-git, 安装办法如下:
在
Windows Terminal里启动Powershell.安装
posh-git:Install-Module posh-git -Scope CurrentUser安装
oh-my-posh':Install-Module oh-my-posh -Scope CurrentUser`安装完了之后,编辑
Powershell的Profile文件:notepad $PROFILE, 使用记事本打开之后,输入:Import-Module posh-git Import-Module oh-my-posh Set-PoshPrompt -Theme sorin
如下是我美化好的Windows Terminal:
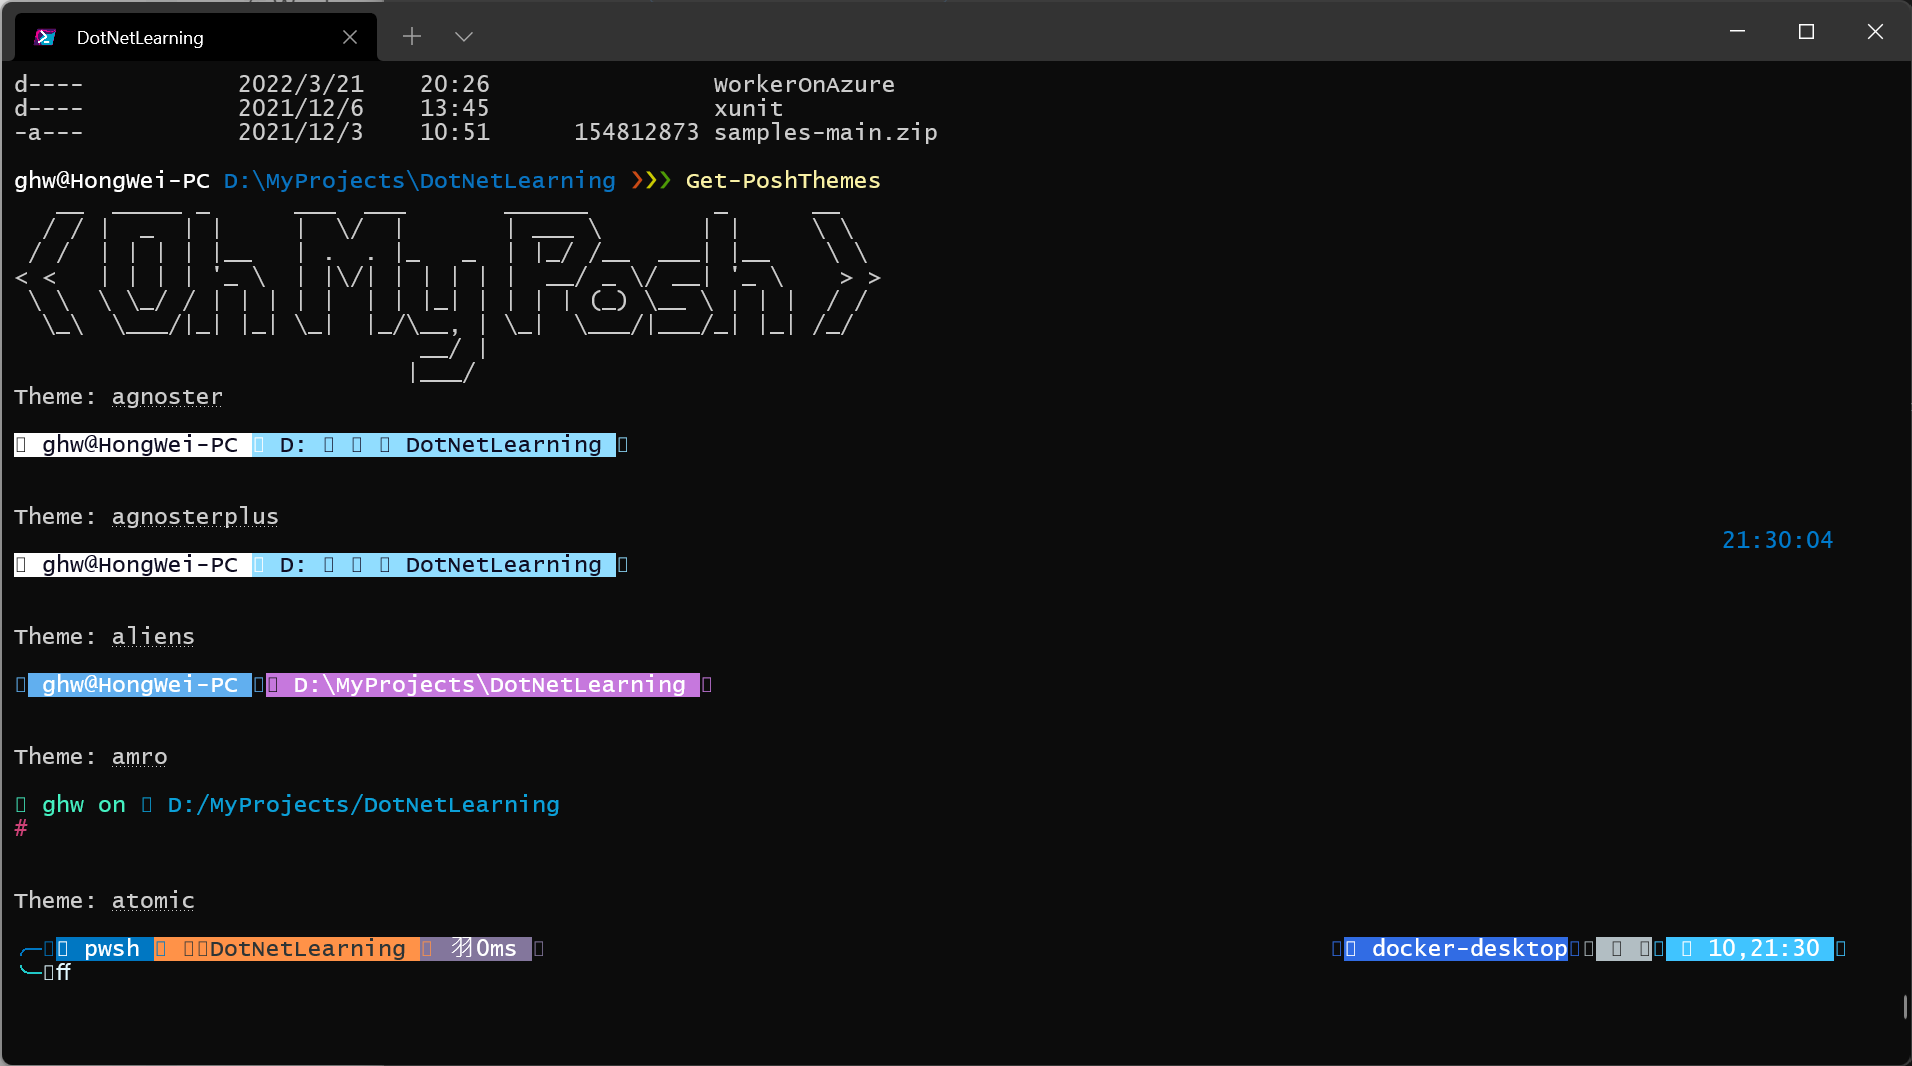
这样你就有了一个非常酷的控制台了。
创建Azure资源
我们安装好了之后,我们开始设置Azure的环境
Connect-AzAccount -Environment AzureChinaCloud  #连接到Azure China环境
Get-AzSubscription                              #列出你当前有的订阅
Select-AzSubscription -SubscriptionId <订阅ID>   #设置你当前上下文的订阅ID
创建资源组
我们之前的学习过程中多次提及我们需要使用一个资源组来组织我们的所有的Azure资源,同时我们还建议您在创建各种资源时给资源添加Tag, 使用tag方便我们在今后的管理中:
- 使用
Tag统计费用 - 使用
Tag组织资源
等等,在我们这次开发中,我们决定采用如下几个Tag:
Tag名称 | Tag取值范围 | 说明 |
|---|---|---|
ResourceType | group、vm-windows, vm-linux, lb,vnet etc | 用于记录该资源的类型,不用刻意通过API查询资源 |
Enviorment | Development、 Testing, Stagging, Production | 该资源被使用的环境,是开发环境,还是测试,还是产线 |
Location | ChinaEast, ChinaEast2, ChinaNorth, ChinaNorth2, ChinaNorth3 | 资源被创建在哪个区域,无需使用API查询 |
Team | dev | 这个Tag只是为了说明Tag的功能,用于体现在大团队开发中鉴定是哪个团队在使用这个资源 |
有了Tag之后可以结合Azure Policy和Azure Management Account等工具对资源进行限制访问,资源统计等功能。
提示
在Azure资源管理中要合理的使用Tag,使得管理更加合理。
我们先来创建资源组:
$group = New-AzResourceGroup -Name my-testing-group -Location chinaeast2 -Tag @{ ResourceType="resourcegroup"; Enviorment="Development"; Location="chinaeast2"; Team="dev" }
这样我们的资源组也就创建好了,同时我们赋予这个资源组合适的Tag。
Tag Name | Tag Value |
|---|---|
ResourceType | resourcegroup |
Environment | Development |
Location | chinaeast2 |
Team | dev |
创建固定的公网IP
我们使用如下的脚本创建固定的公网IP:
提示
公网IP我们同样也应用上述的几个tags。
$public_ip_rg = @{
 Name = "my-test-public-ip"
 ResourceGroupName = $group.ResourceGroupName
 Location = "chinaeast2"
 Sku = "Standard"
 AllocationMethod = "Static"
 IpAddressVersion = "IPv4"
 Tag = @{ ResourceType='publicip'; Enviorment="Development"; Location="chinaeast2"; Team="dev"}

}

$public_ip = New-AzPublicIpAddress @public_ip_rg
创建基于Windows Server 2019 Datacenter的虚拟机
创建虚拟机之前,我们有一些信息需要提前就了解清楚:
- 我们需要的虚拟机大小,例如多少个
vCore, 多少内存,多大的IOPS等等。 - 我们需要了解虚拟机使用的镜像名称。
我们可以使用如下的语句来了解当前区域的VM的Size:
Get-AzVMSize -Location chinaeast2 | more
使用如下的语句了解镜像:
Get-AzLocation | Where-Object { $_.Location -eq "chinaeast2" } | Get-AzVMImagePublisher | Where-Object { $_.PublisherName -eq 'MicrosoftWindowsServer'} | Get-AzVMImageOffer | Where-Object {$_.Offer -eq "WindowsServer" } | Get-AzVMImageSku | ft
如下是输出:
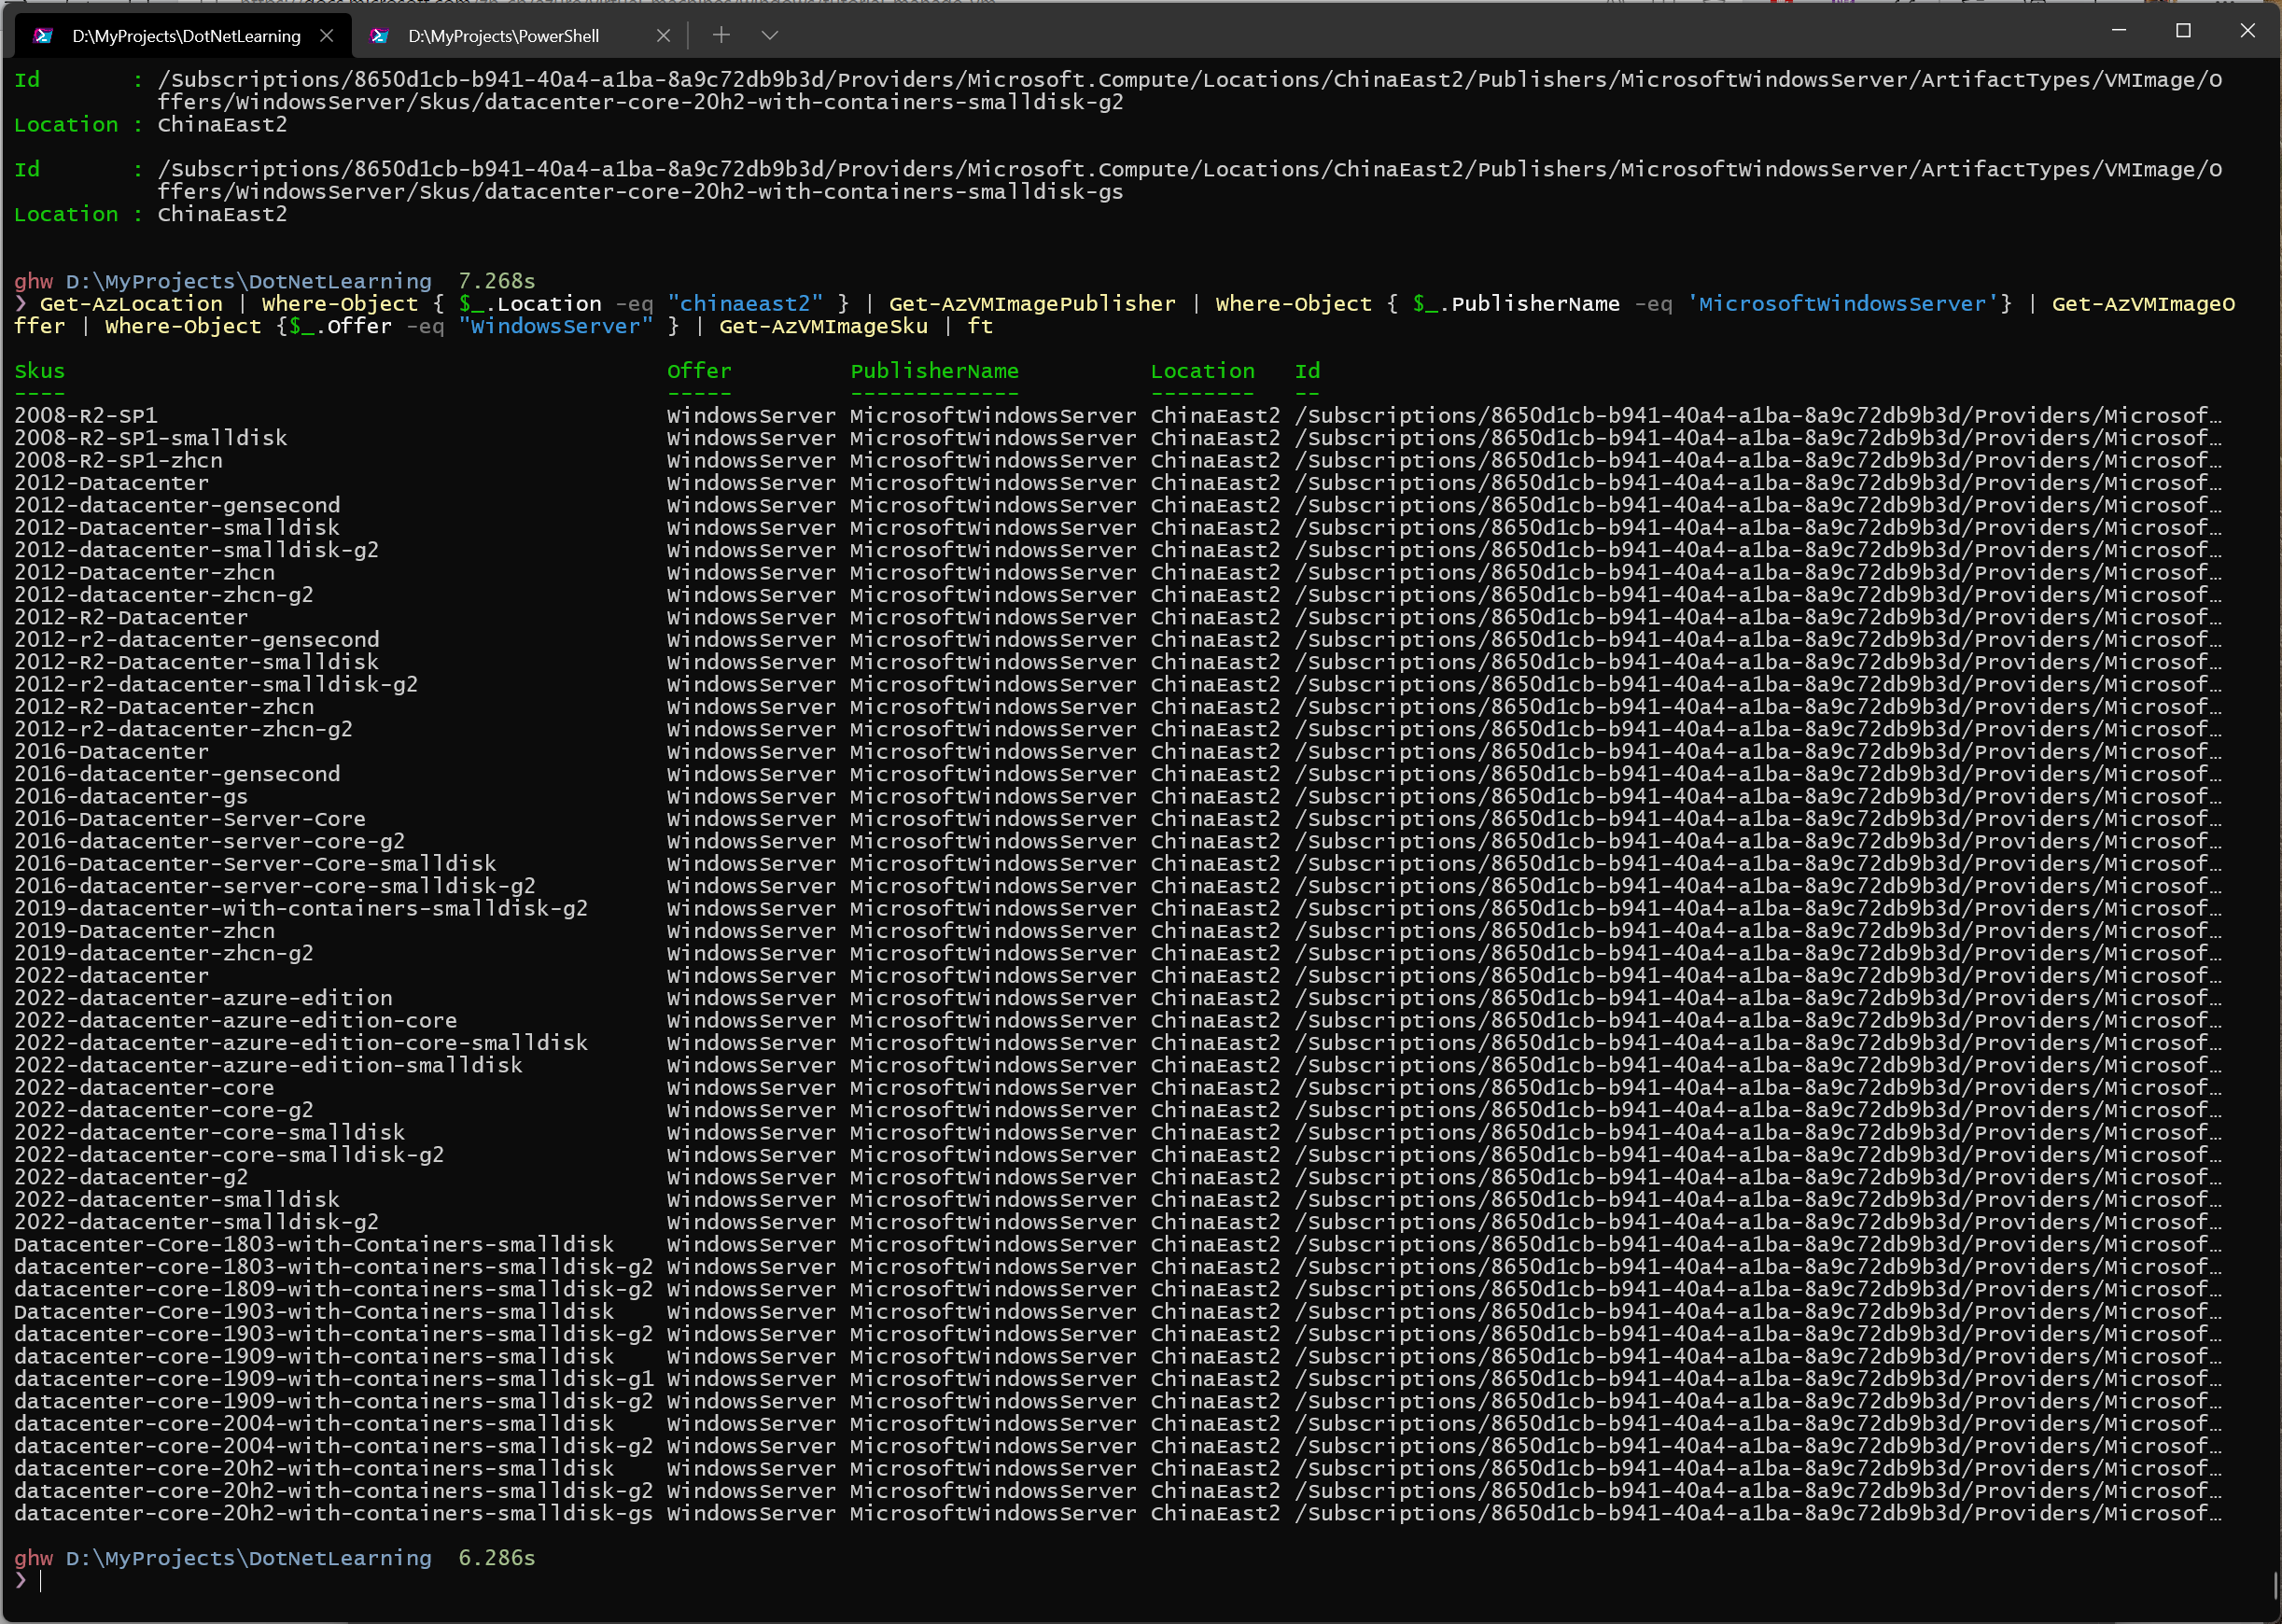
我们需要的镜像是2019-datacenter-zhcn-g2, 使用如下的命令创建镜像:
需要注意的是,这个脚本比较复杂,我们基本上是将创建一个VM的所有的步骤都分拆开来了。我会在每个步骤上加上注释。
# 定义用户名
$vmuser = '<用户名>'
# 定义密码
$vmpassword = ConvertTo-SecureString "<你的密码>" -AsPlainText -Force
$location = "chinaeast2"
# 机器名称
$computeName = "my-testing-vm"
# 虚拟机名称
$vmName = "my-testing-vm"
# 大小
$vmSize = "Standard_B2s"

$vnetName = "my-testing-vnet"
$nicName = "my-testing-nic"
$subnetName = "my-testing-subnet"
$subnetAddressPrefix = "10.0.0.0/24"
$vnetAddressPrefix = "10.0.0.0/16"

# 创建子网
$singleSubnet = New-AzVirtualNetworkSubnetConfig -Name $subnetName -AddressPrefix $subnetAddressPrefix
# 创建虚拟网络
$vnet = New-AzVirtualNetwork -Name $vnetName -ResourceGroupName $group.ResourceGroupName -Location $location -AddressPrefix $vnetAddressPrefix -Subnet $singleSubnet
# 创建NSG,开放3389端口
$rule = New-AzNetworkSecurityRuleConfig -Name rdp-rule -Description "Allow RDP" ` -Access Allow -Protocol Tcp -Direction Inbound -Priority 100 -SourceAddressPrefix Internet -SourcePortRange * -DestinationAddressPrefix * -DestinationPortRange 3389
$nsg = New-AzNetworkSecurityGroup -ResourceGroupName $group.ResourceGroupName -Location $location -Name my-testing-nsg -SecurityRules $rule
# 创建网卡,并附上公网IP
$nic = New-AzNetworkInterface -Name $nicName -ResourceGroupName $group.ResourceGroupName -Location $location -SubnetId $vnet.Subnets[0].Id -PublicIpAddressId $public_ip.Id -NetworkSecurityGroupId $nsg.Id

# 生成认证
$credential = New-Object System.Management.Automation.PSCredential ($vmuser, $vmpassword)

$MyVMConfig = New-AzVMConfig -VMName $vmName -VMSize $vmSize
$MyVMConfig = Set-AzVMOperatingSystem -VM $MyVMConfig -Windows -ComputerName $computeName -Credential $credential -ProvisionVMAgent -EnableAutoUpdate
$MyVMConfig = Add-AzVMNetworkInterface -VM $MyVMConfig -Id $nic.Id
$MyVMConfig = Set-AzVMSourceImage -VM $MyVMConfig -PublisherName 'MicrosoftWindowsServer' -Offer 'WindowsServer' -Skus '2019-datacenter-zhcn-g2'  -Version latest

new-azvm -ResourceGroupName $group.ResourceGroupName -Location $location -VM $MyVMConfig  -Tag @{ResourceType='vm-windows-server-2019'; Enviorment="Development"; Location="chinaeast2"; Team="dev" } -Verbose
支持我们的虚拟机就创建成功了。
创建到这里了,我突然想问问大家,这个脚本里有什么问题吗?留个作业,希望能够引发您的思考。