Jupyter for Azure机器学习五天入门 - Day1 准备Jupyter Book环境 Azure机器学习
分类: Azure机器学习 ◆ 标签: #Azure #人工智能 #机器学习 #JupyterBook ◆ 发布于: 2023-06-11 21:42:30

我们今天来学习使用另外一个非常棒的工具,这就是Jupyter, 使用Jupyter Book很容易和Azure机器学习平台相集成,在阅读这个三天入门教程之前,建议还是先学习一下前面的Python SDK一天入门教程和环境准备的部分,这样您有了一个可以用来学习和使用Azure机器学习的入门知识和工具了Anaconda。
关于jupyter环境,我们至少有两个环境可以选择:
- 使用
Azure Machine Learning Studio自带的Jupyter Book - 使用在
Azure Machine Learning Studio里创建的compute instance上安装的jupyter book - 使用本地环境上安装的
jupyter book, 链接到AML
具体使用哪个环境,看您喜欢用哪一个,我们接下里一个一个的描述这三种jupyter book的准备。
Azure Machine Learning Studio自带的Jupyter book
创建了Azure Machine Learning的资源之后,启动登录到Studio中,从左侧菜单可以看到NoteBook, 如下图:
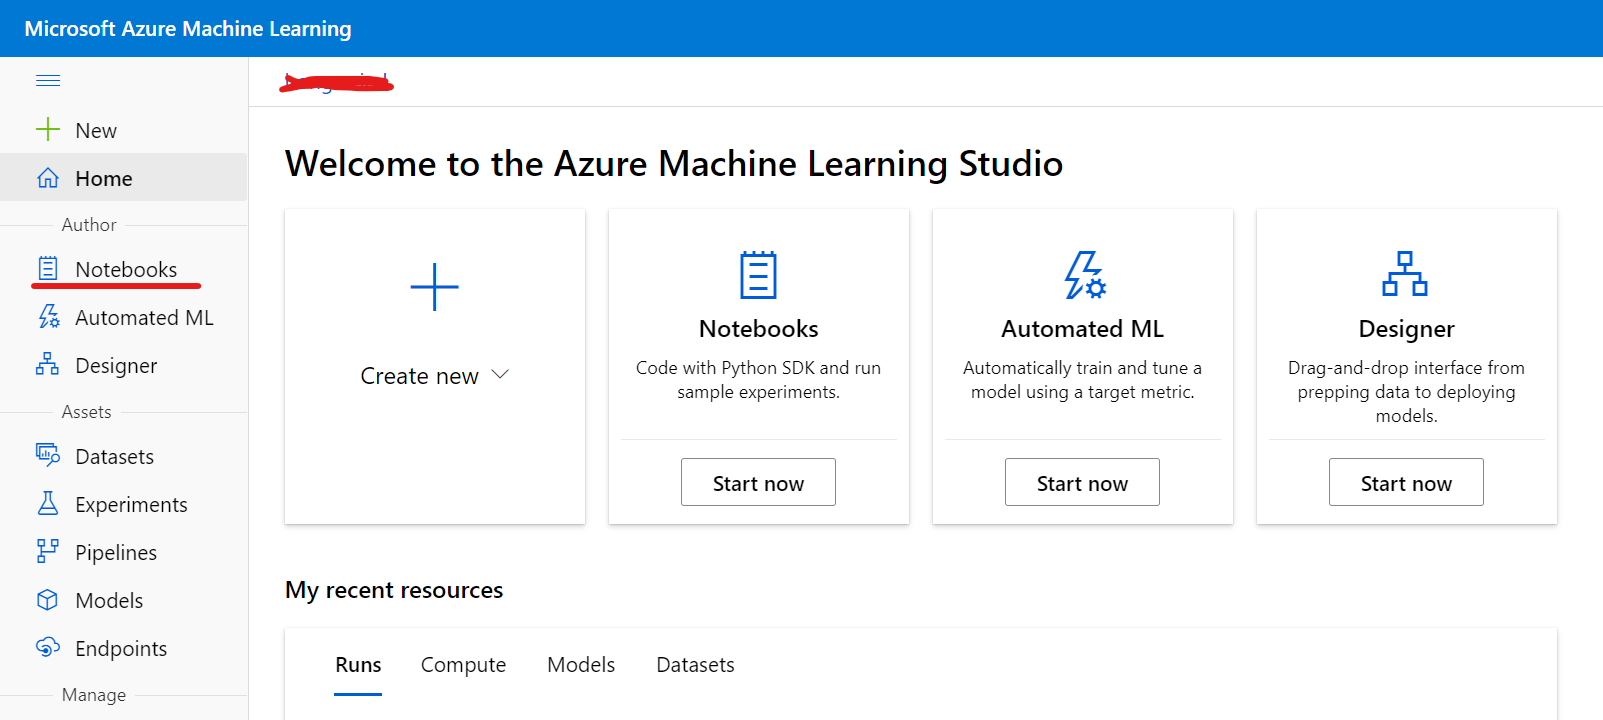
点击Notebooks, 即可登录进入Jupyter, 如下图:
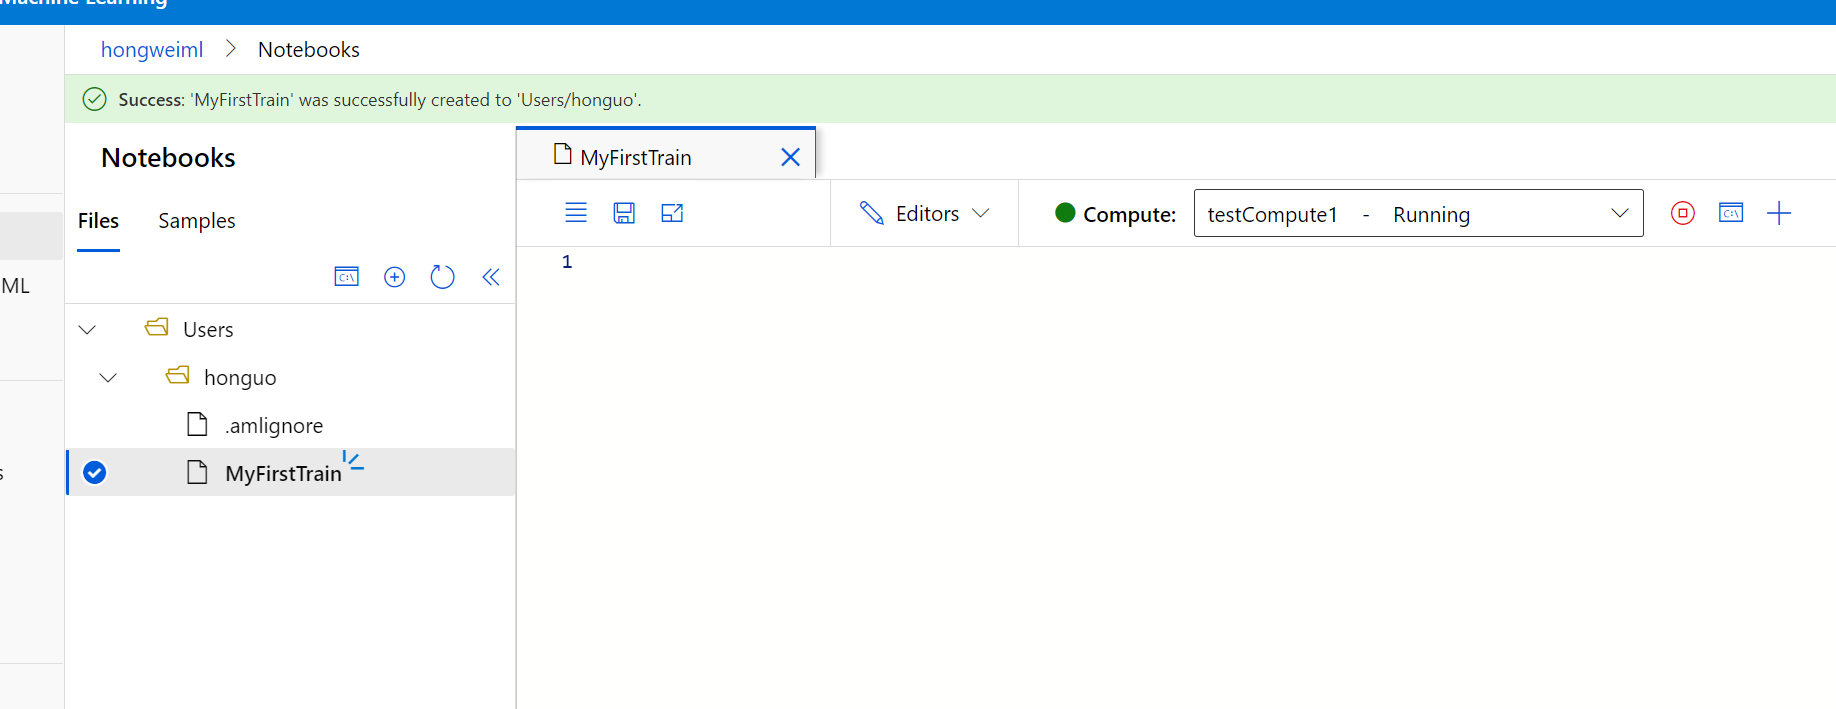
您可以在这个界面直接创建一个新的book文件,如下图:
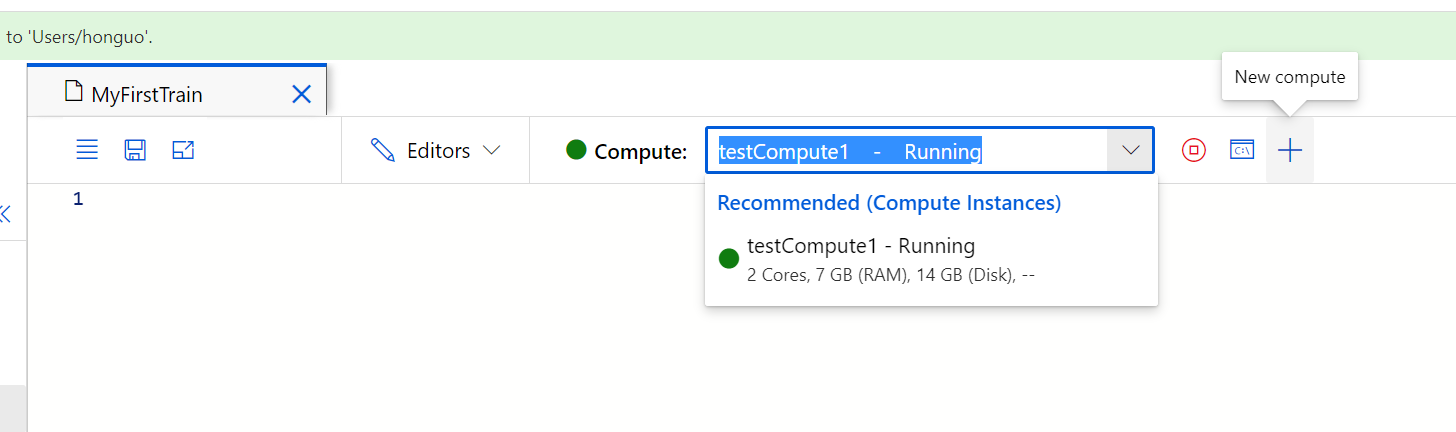
需要注意的是一个book文件运行是需要和一个compute instance相关联的,你需要新创建一个compute instance或者选择一个已经在运行的compute instance给你创建的book文件,如下图:
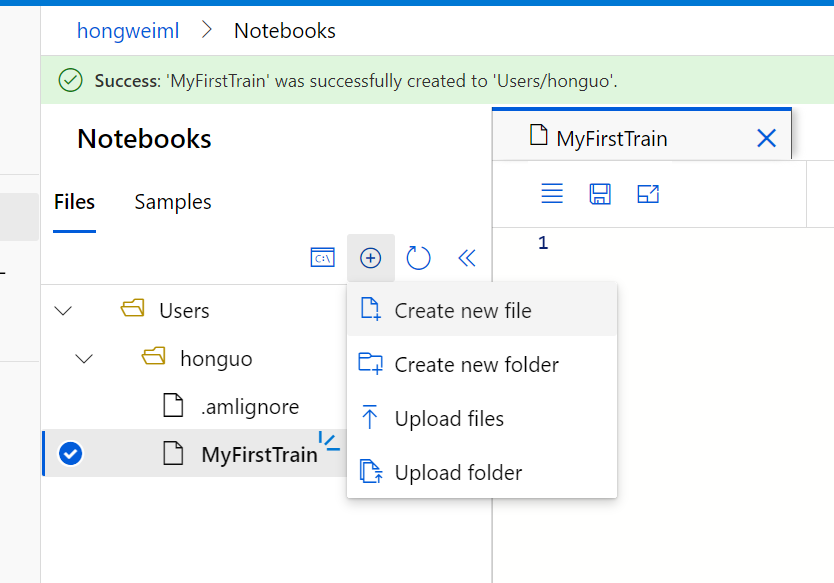
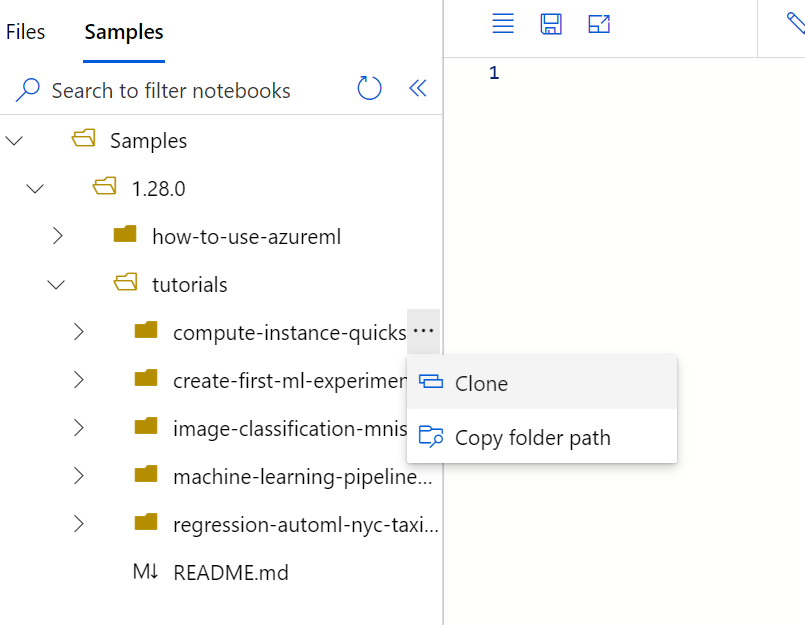
同时Azure Machine Learning的jupyter book自带了很多的例子,你可以通过Files旁边的Tab Samples进行浏览,但是注意的是Sample里的例子都没有办法运行,如果需要运行,您可以将Sample里的例子clone到自己的目录里,如下图:
到这里就将我们Azure Machine Learning自带的jupyter book介绍完了。
Compute Instance自带的jupyter book
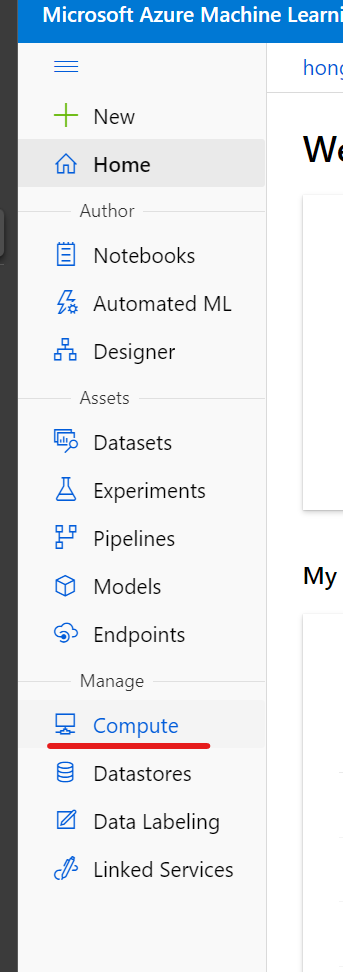
在创建完Azure Machine Learning并启动studio之后,从左侧的菜单里选择Compute, 进入计算单位的管理
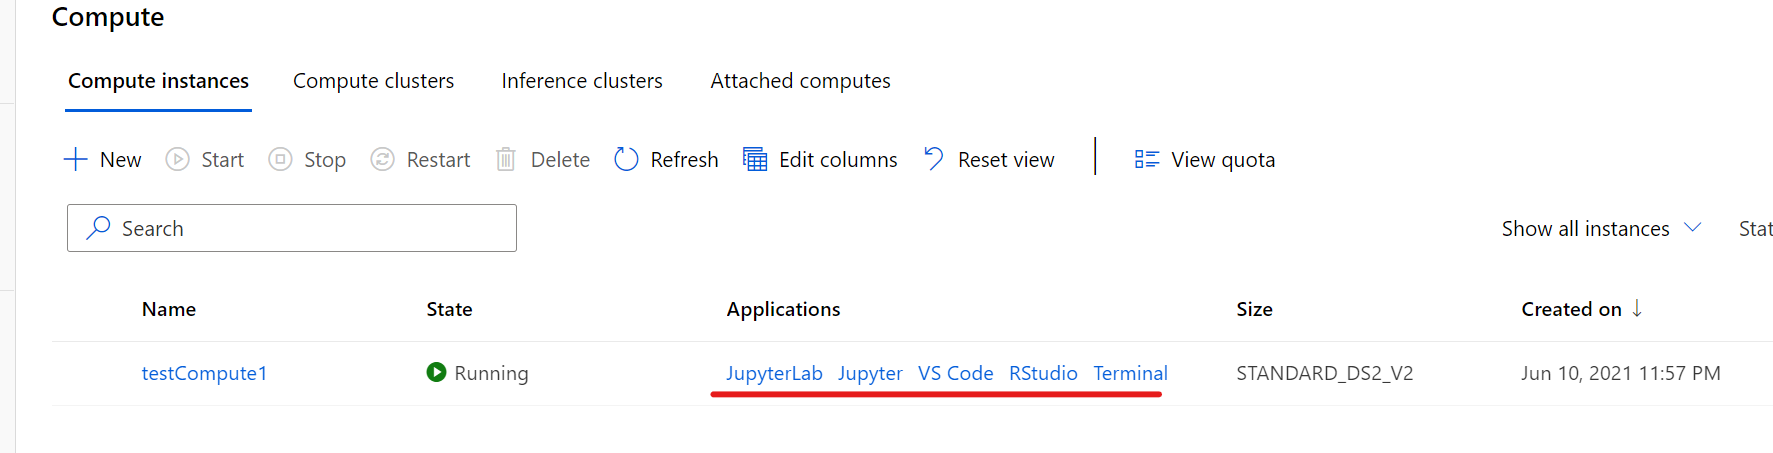
新创建一个compute instance或者选择一个已经启动的compute instance, 即可以看到已经预装了jupyter, 直接点击链接启动就可以了。
使用本地环境的Jupyter
如果您本地已经根据文档配置云和本地环境, 那么你也可以直接用本地的环境来使用jupyter book。
启动并激活自己的Anaconda的虚拟Python环境之后,使用如下命令安装本地的Jupyter notebook(注: 如果已经安装就跳过)
conda install notebook ipykernel
ipython kernel install --user --name <myenv> --display-name "Python (myenv)"
这样本地的jupyter notebook就已经装好了,注意 这之前应该已经安装好了Python SDK
同时需要记得从Azure Machine Learning上已经下载了配置文件config.js并放置在项目的根目录下,然后我们在项目的根目录下启动jupyter book就好了。
(myml) D:\MyProjects\MLProjects\tutorial>jupyter notebook
[I 22:32:08.974 NotebookApp] Writing notebook server cookie secret to C:\Users\ghw\AppData\Roaming\jupyter\runtime\notebook_cookie_secret
[I 22:32:09.386 NotebookApp] Serving notebooks from local directory: D:\MyProjects\MLProjects\tutorial
[I 22:32:09.386 NotebookApp] Jupyter Notebook 6.4.0 is running at:
[I 22:32:09.388 NotebookApp] http://localhost:8888/?token=210985c63795df55c887113714a6594266e3d2e0188710ec
[I 22:32:09.388 NotebookApp]  or http://127.0.0.1:8888/?token=210985c63795df55c887113714a6594266e3d2e0188710ec
[I 22:32:09.388 NotebookApp] Use Control-C to stop this server and shut down all kernels (twice to skip confirmation).
[C 22:32:09.566 NotebookApp]

    To access the notebook, open this file in a browser:
        file:///C:/Users/ghw/AppData/Roaming/jupyter/runtime/nbserver-28632-open.html
    Or copy and paste one of these URLs:
        http://localhost:8888/?token=210985c63795df55c887113714a6594266e3d2e0188710ec
     or http://127.0.0.1:8888/?token=210985c63795df55c887113714a6594266e3d2e0188710ec
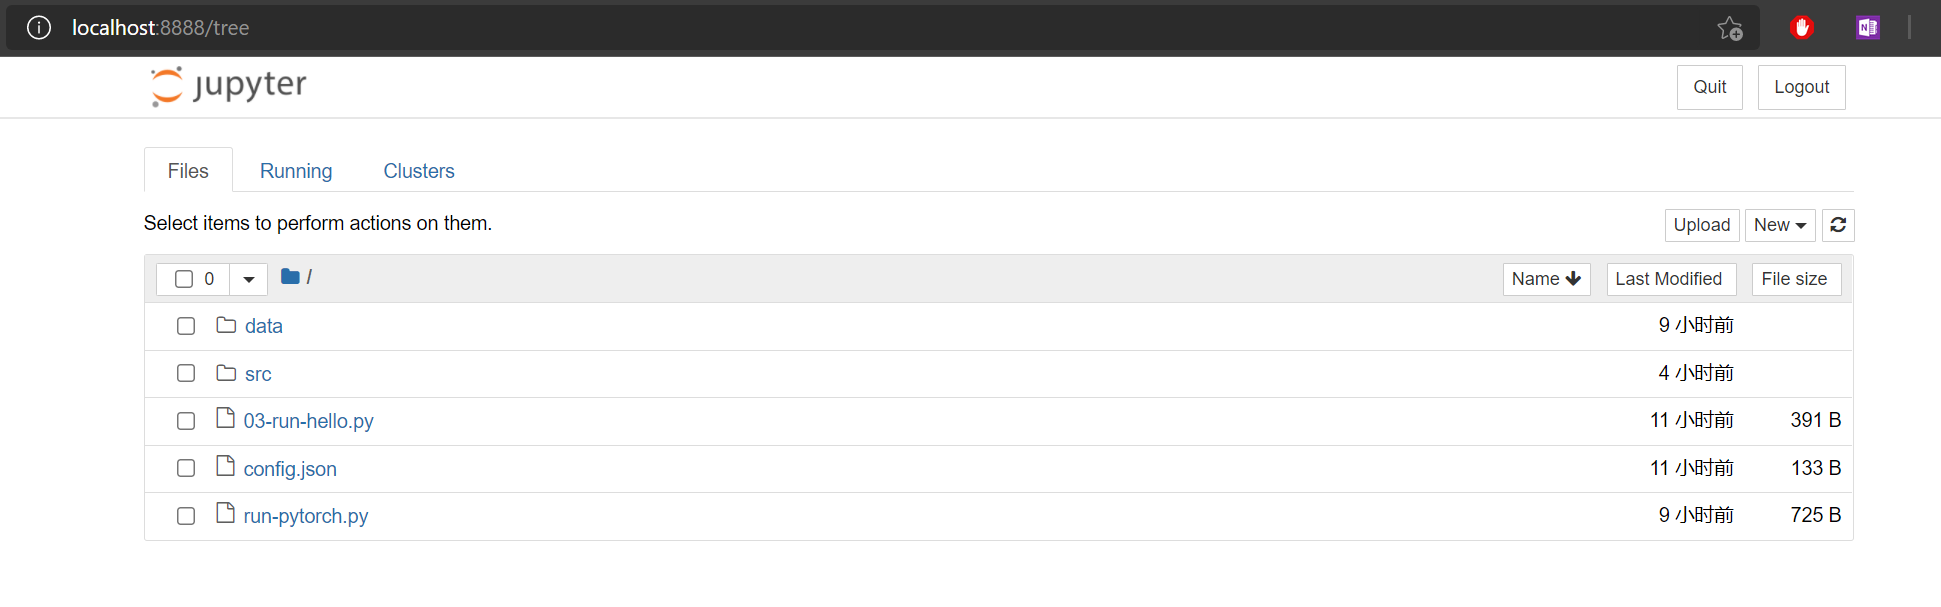
浏览器自动打开jupyter notebook, 如下图:
新建一个MyML核心的笔记本:

至此三种Jupyter book的环境都准备好了。
我们在接下来四天的课程中,会选择一个自己喜欢的工具来进行学习,我会选择来自本地的环境。