在Windows Server Core下安装Windows Admin Center
分类: Windows Server ◆ 标签: #Windows Server Core ◆ 发布于: 2025-03-15 12:14:07

在Windows Server Core下安装Windows Admin Center的主要参考官方文档是:https://learn.microsoft.com/en-us/windows-server/manage/windows-admin-center/deploy/install?tabs=server-core&pivots=windows-server-2025
需要注意的是要根据自己的操作系统进行选择对应的Tab, 一般的步骤如下:
下载Windows Admin Center到本地目录:
$parameters = @{
     Source = "https://aka.ms/WACdownload"
     Destination = ".\WindowsAdminCenter.exe"
}
Start-BitsTransfer @parameters
开始安装:
Start-Process -FilePath '.\WindowsAdminCenter.exe' -ArgumentList '/VERYSILENT' -Wait
这个时候就已经准备好可以开始启动该服务了,例如很简单的命令:
Start-Service -Name WindowsAdminCenter
不过在启动之前,还可能有其他的要求,例如默认可能是监听在443端口或者是6515端口,如果本机已经安装了IIS或者其他的web服务器,或者将来要安装,这个时候就有冲突了,或者单纯的就是想改一个端口,这个时候就要编辑文件C:\Program Files\WindowsAdminCenter\Service\appsettings.json了。在该文件里搜索https://*, 即可以找到两处需要更改端口的地方,将之更改为需要的端口就可以了。
更改完了之后,还需要更改Windows Server Core的防火墙,让指定端口可以从inbound访问,例如端口是6516,
New-NetFirewallRule -DisplayName "Allow Access Windows Admin Center" -Direction Inbound -RemoteAddress any -Protocol TCP -LocalPort 6516 -Action Allow
使用如下命令可以再查看防火墙规则:
Get-NetFirewallRule | where {$_.DisplayName -like "*Admin*"}

or

Get-NetFireWallRule | where {$_.DisplayName.Contains("Admin")}
使用如下的命令找到服务的名称以及状态:
Get-Service | findstr "Admin"

Get-Service -Name WindowsAdminCenter
启动该服务:
start-service -Name WindowsAdminCenter
启动之后,要查看该服务运行的情况:
tasklist /V /FI "imagename eq windowsadmincenter.exe"
使用该命令可以查看到该服务的当前进程,并能找到进程号,找到该进程号之后,可以查看网络的情况:
netstat /ano | findstr "进程号"
可以使用如下的命令查看该服务的日志:
Get-EventLog -LogName WindowsAdminCenter | more
Get-EventLog -LogName WindowsAdminCenter -EntryType Error | more
Get-EventLog -LogName WindowsAdminCenter -Index {index number} | select -Property * | more //查看日志详细
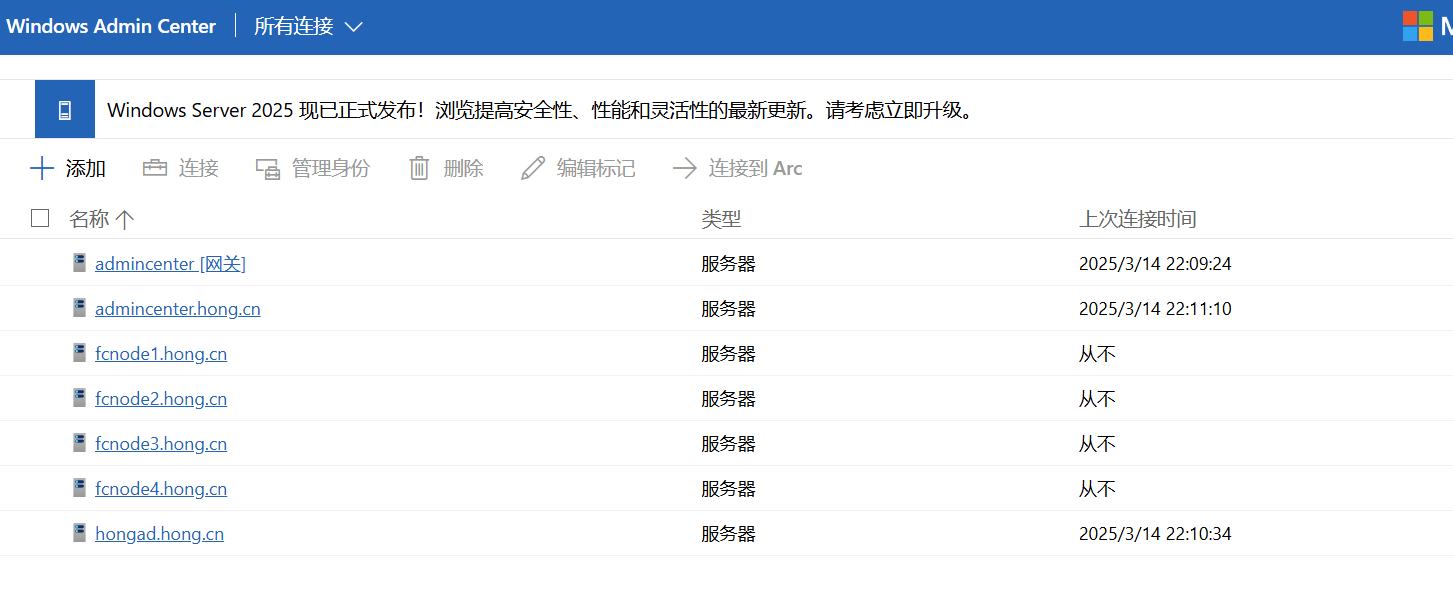
最后启动浏览器查看Windows Admin Center, 如下我的服务器: