Identity Server和SPA应用交互
分类: IdentityServer4教程 ◆ 标签: #Asp.Net core基础 #认证 #授权 #Identity Server #OpenId Connect #OAuth2 ◆ 发布于: 2023-05-27 22:47:53

本节的内容是接着前面界面的内容的,如果您在学习本节的时候遇到了困难,请参考前面几节的内容,另外本教程的源代码均可以从如下链接下载:
Demo Code
本节我们来学习客户端应用如何使用openId Connect进行验证,登录以及授权,我们这里的客户端应用主要是以SPA类型的程序作为演示,为了方便,本节使用javascript的客户端应用来演示。
该实例的代码请参考Demo项目中的JavaScriptClient代码:用户在javascript页面上点击登录按钮,会跳转至identityserver4登录,登录成功后返回到javascript客户端,点击javascript页面上的CallAPI按钮会调用api,并返回结果,点击退出登录,即返回到JavascriptClient的主界面。
创建JavaScriptClient客户端项目
我们在本节使用一个简易的ASP.net Core项目作为一个web项目输出javascript应用,我们使用如下的步骤创建该项目:
    cd src
    md JavaScriptClient
    cd JavaScriptClient
    dotnet new web
项目添加后,我们需要将该项目加入到解决方案中.
    cd ..
    dotnet sln add .\src\JavaScriptClient
修改项目监听的端口
鉴于我们前面的项目中已经监听了5001端口,因此该项目的需要修改一下监听端口,只需更改Properties\LaunchSettings.json中的端口改为5003, 也即:https://localhost:5003
添加静态文件支持
请修改JavaScriptClient项目中类Startup.cs的Configure方法,添加静态文件支持:
public void Configure(IApplicationBuilder app)
{
    app.UseDefaultFiles();
    app.UseStaticFiles();
}
引入JavaScript的oidc-client库
如果您的本机已经安全了node.js, 那么请使用如下的命令进行安装
    cd src\JavaScriptClient
    md wwwroot
    npm i oidc-client
    copy node_modules\oidc-client\dist\* wwwroot
如果你没有安装node.js, 那么你也可以手动下载oidc-client库,并解压到项目的wwwroot目录下。
下载链接如下oidc-client
添加HTML和Javascript代码
我们需要在wwwroot下创建index.html文件作为应用的入口,改文件的内容如下:
<!DOCTYPE html>
<html>
<head>
    <meta charset="utf-8" />
    <title></title>
</head>
<body>
    <button id="login">Login</button>
    <button id="api">Call API</button>
    <button id="logout">Logout</button>

    <pre id="results"></pre>

    <script src="oidc-client.js"></script>
    <script src="app.js"></script>
</body>
</html>
从index.html中我们可以看到我们已经引入了oidc-client的库代码,以及app.js, 它是我们javascript主要的代码,那么下面是app.js的主要代码
function log() {
    document.getElementById('results').innerText = '';

    Array.prototype.forEach.call(arguments, function (msg) {
        if (msg instanceof Error) {
            msg = "Error: " + msg.message;
        }
        else if (typeof msg !== 'string') {
            msg = JSON.stringify(msg, null, 2);
        }
        document.getElementById('results').innerHTML += msg + '\r\n';
    });
}

//添加事件
document.getElementById("login").addEventListener("click", login, false);
document.getElementById("api").addEventListener("click", api, false);
document.getElementById("logout").addEventListener("click", logout, false);

var config = {
    authority: "https://localhost:5001",
    client_id: "js",
    redirect_uri: "https://localhost:5003/callback.html",
    response_type: "code",
    scope:"openid profile api1",
    post_logout_redirect_uri : "https://localhost:5003/index.html",
};
var mgr = new Oidc.UserManager(config);

mgr.getUser().then(function (user) {
    if (user) {
        log("User logged in", user.profile);
    }
    else {
        log("User not logged in");
    }
});

function login() {
    mgr.signinRedirect();
}

function api() {
    mgr.getUser().then(function (user) {
        var url = "https://localhost:6001/identity";

        var xhr = new XMLHttpRequest();
        xhr.open("GET", url);
        xhr.onload = function () {
            log(xhr.status, JSON.parse(xhr.responseText));
        }
        xhr.setRequestHeader("Authorization", "Bearer " + user.access_token);
        xhr.send();
    });
}

function logout() {
    mgr.signoutRedirect();
}
从这段代码中我们知道我们配置了重定向路径为https://localhost:5003/callback.html, 因此callback.html的内容如下:
<!DOCTYPE html>
<html>
<head>
    <meta charset="utf-8" />
    <title></title>
</head>
<body>
    <script src="oidc-client.js"></script>
    <script>
        new Oidc.UserManager({response_mode:"query"}).signinRedirectCallback().then(function() {
            window.location = "index.html";
        }).catch(function(e) {
            console.error(e);
        });
    </script>
</body>
</html>
至此我们已经定义好了JavaScriptClient项目中我们全部需要的代码,接下来我们需要在IdentityServer中配置这个客户端,需要修改项目IdentityServer中的config.cs
// JavaScript Client
new Client
{
    ClientId = "js",
    ClientName = "JavaScript Client",
    AllowedGrantTypes = GrantTypes.Code,
    RequireClientSecret = false,

    RedirectUris =           { "https://localhost:5003/callback.html" },
    PostLogoutRedirectUris = { "https://localhost:5003/index.html" },
    AllowedCorsOrigins =     { "https://localhost:5003" },

    AllowedScopes =
    {
        IdentityServerConstants.StandardScopes.OpenId,
        IdentityServerConstants.StandardScopes.Profile,
        "api1"
    }
}
允许CORS支持
由于我们在JavaScriptClient项目中需要通过Ajax调用API和登录的API, 因此我们需要在项目IdentityServer和Api中添加Cors特性支持
在项目类Startup.cs中的ConfigureService方法和Configure方法进行调整:
ConfigureService:
public void ConfigureServices(IServiceCollection services)
{
    // ...

    services.AddCors(options =>
    {
        // this defines a CORS policy called "default"
        options.AddPolicy("default", policy =>
        {
            policy.WithOrigins("https://localhost:5003")
                .AllowAnyHeader()
                .AllowAnyMethod();
        });
    });
}
Configure:
public void Configure(IApplicationBuilder app)
{
    app.UseRouting();

    app.UseCors("default");

    // ...
}
运行结果
分别启动IdentityServer, Api, JavaScriptClient项目, 分别在各自的目录中运行:dotnet run
以下是JavaScriptClient项目:
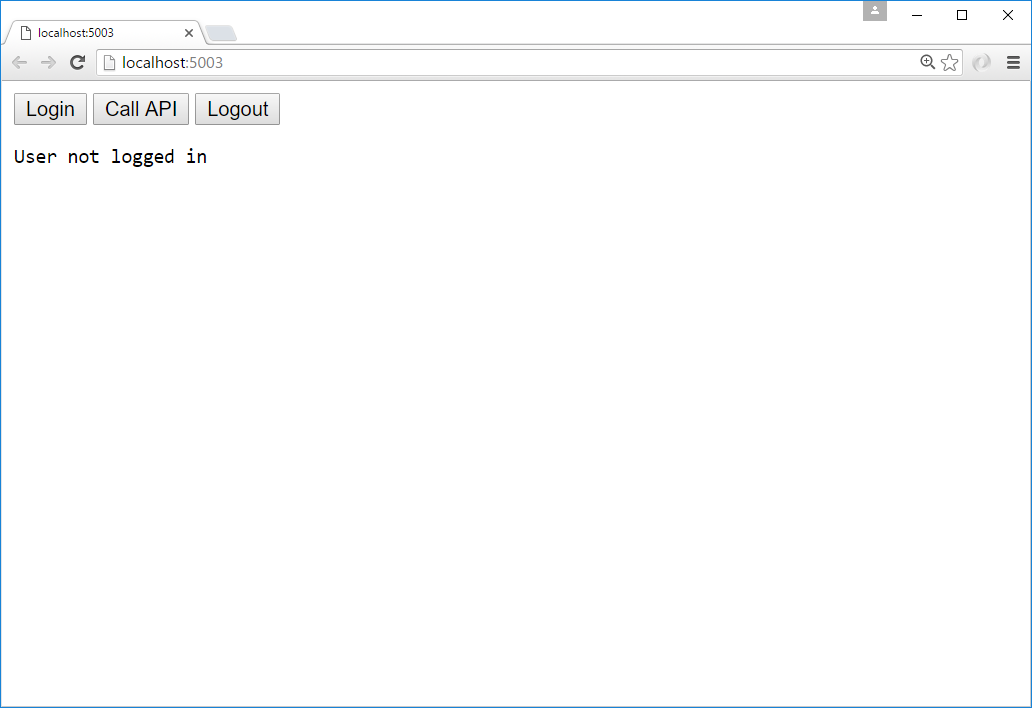
点击login按钮后, 会跳转到IdentityServer登录的界面。
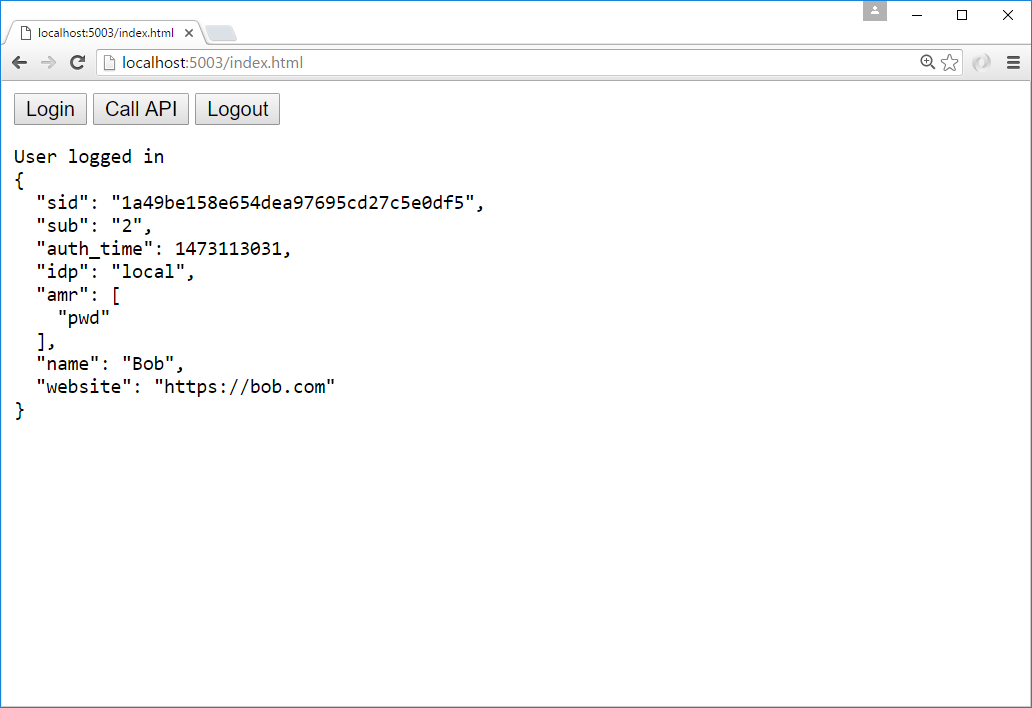
登录成功后,返回到JavaScriptClient页面:
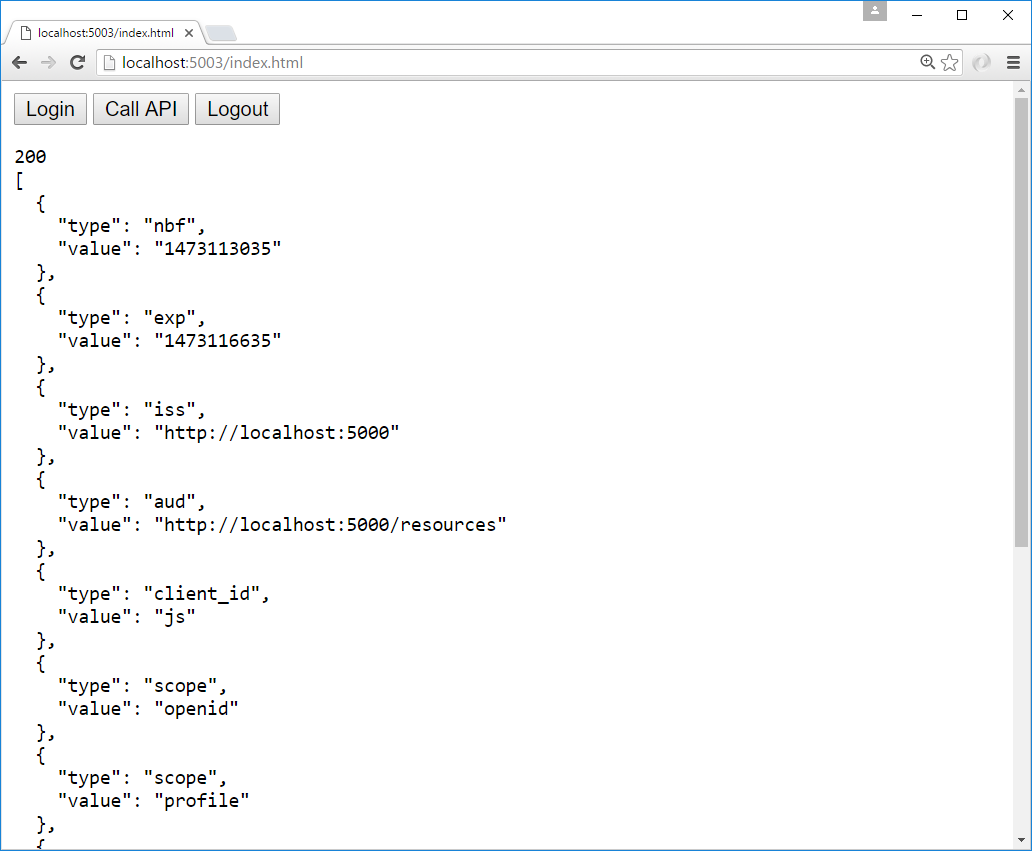
点击"Call API":
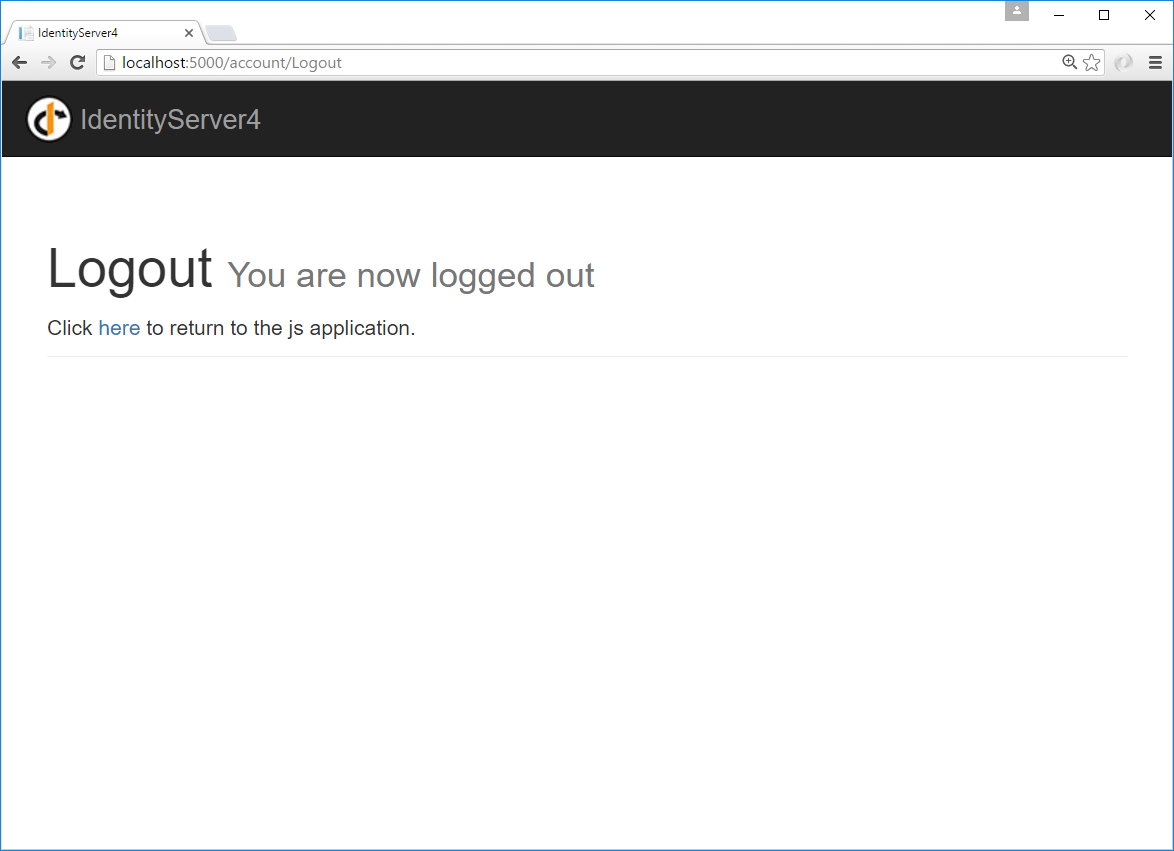
点击"logout"
到此我们本节内容也结束了。