Identity Server和Asp.net Core Identity集成
分类: IdentityServer4教程 ◆ 标签: #Asp.Net core基础 #认证 #授权 #Identity Server #OpenId Connect #OAuth2 ◆ 发布于: 2023-05-27 22:53:49

IdentityServer4被设计成可以和各种其他的数据库进行集成,我们前一篇讲解了如何和EF Core支持的关系型数据库进行集成,我们本节讲解如何和ASP.net Core Identity进行集成。
本系列的源代码都可以从如下的链接找到:
Demo Source Code
关于本系列的文章您可以从下述列表找到:
本节我们会使用新的模板创建一个基于ASP.net Core Identity的IdentityServer的项目,因此我们前面的IdentityServer项目不再使用。我们会创建一个新的,这个新的IdentityServer项目会使用Identity库的数据库,登录,登出界面等等。如果您不熟悉Identity, 您可以参考我之前的文章,文章有讲述Identity的基本使用和概念。
cd quickstart/src
dotnet new is4aspid -n IdentityServerAspNetIdentity
创建完项目之后,请使用自己偏爱的编辑器打开源代码, 观察如下的代码:
Startup.cs:
 public void ConfigureServices(IServiceCollection services)
        {
            services.AddControllersWithViews();

            services.AddDbContext<ApplicationDbContext>(options =>
                options.UseSqlite(Configuration.GetConnectionString("DefaultConnection")));

            services.AddIdentity<ApplicationUser, IdentityRole>()
                .AddEntityFrameworkStores<ApplicationDbContext>()
                .AddDefaultTokenProviders();

            var builder = services.AddIdentityServer(options =>
            {
                options.Events.RaiseErrorEvents = true;
                options.Events.RaiseInformationEvents = true;
                options.Events.RaiseFailureEvents = true;
                options.Events.RaiseSuccessEvents = true;

                // see https://identityserver4.readthedocs.io/en/latest/topics/resources.html
                options.EmitStaticAudienceClaim = true;
            })
                .AddInMemoryIdentityResources(Config.IdentityResources)
                .AddInMemoryApiScopes(Config.ApiScopes)
                .AddInMemoryClients(Config.Clients)
                .AddAspNetIdentity<ApplicationUser>();

            // not recommended for production - you need to store your key material somewhere secure
            builder.AddDeveloperSigningCredential();

            services.AddAuthentication()
                .AddGoogle(options =>
                {
                    options.SignInScheme = IdentityServerConstants.ExternalCookieAuthenticationScheme;

                    // register your IdentityServer with Google at https://console.developers.google.com
                    // enable the Google+ API
                    // set the redirect URI to https://localhost:5001/signin-google
                    options.ClientId = "copy client ID from Google here";
                    options.ClientSecret = "copy client secret from Google here";
                });
        }
从这个模板文件中我们可以看到,我们在Startup.ConfigureService中配置了Identity和Identity Server4, 而且也是采用了内存中保存的方式。根据我们之前的项目我们需要重新定义一下由模板生成的Config.cs, 内容如下:
using IdentityServer4.Models;
using System.Collections.Generic;
using IdentityServer4;

namespace IdentityServerAspNetIdentity
{
    public static class Config
    {
        public static IEnumerable<IdentityResource> IdentityResources =>
            new List<IdentityResource>
            {
            new IdentityResources.OpenId(),
            new IdentityResources.Profile(),
            };

        public static IEnumerable<ApiScope> ApiScopes =>
            new List<ApiScope>
            {
            new ApiScope("api1", "My API")
            };

        public static IEnumerable<Client> Clients =>
            new List<Client>
            {
            // machine to machine client
            new Client
            {
                ClientId = "client",
                ClientSecrets = { new Secret("secret".Sha256()) },

                AllowedGrantTypes = GrantTypes.ClientCredentials,
                // scopes that client has access to
                AllowedScopes = { "api1" }
            },

            // interactive ASP.NET Core MVC client
            new Client
            {
                ClientId = "mvc",
                ClientSecrets = { new Secret("secret".Sha256()) },

                AllowedGrantTypes = GrantTypes.Code,

                // where to redirect to after login
                RedirectUris = { "https://localhost:5002/signin-oidc" },

                AllowOfflineAccess = true,

                // where to redirect to after logout
                PostLogoutRedirectUris = { "https://localhost:5002/signout-callback-oidc" },

                AllowedScopes = new List<string>
                {
                    IdentityServerConstants.StandardScopes.OpenId,
                    IdentityServerConstants.StandardScopes.Profile,
                    "api1"
                }
            }
            };
    }
}
好了,现在可以运行这个新的IdentityServer服务了,然后我们再一次启动Api, MvcClient, 即可以看到效果:
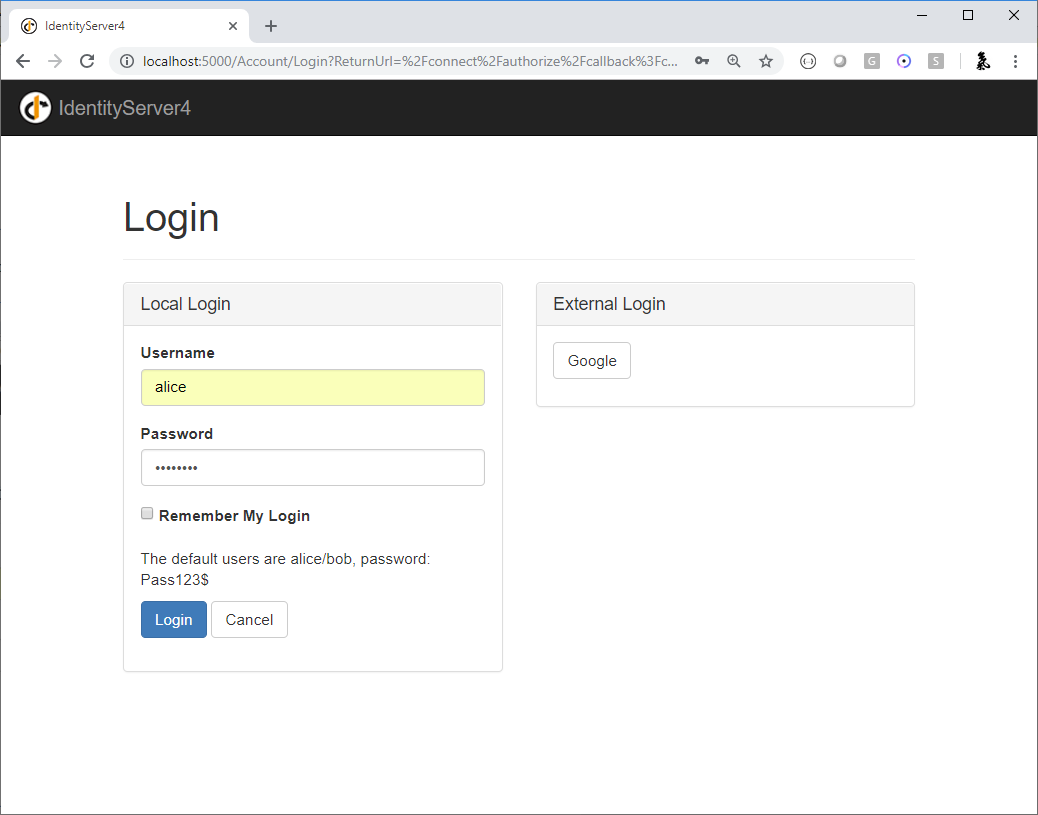
其他运行效果和之前是一致的。